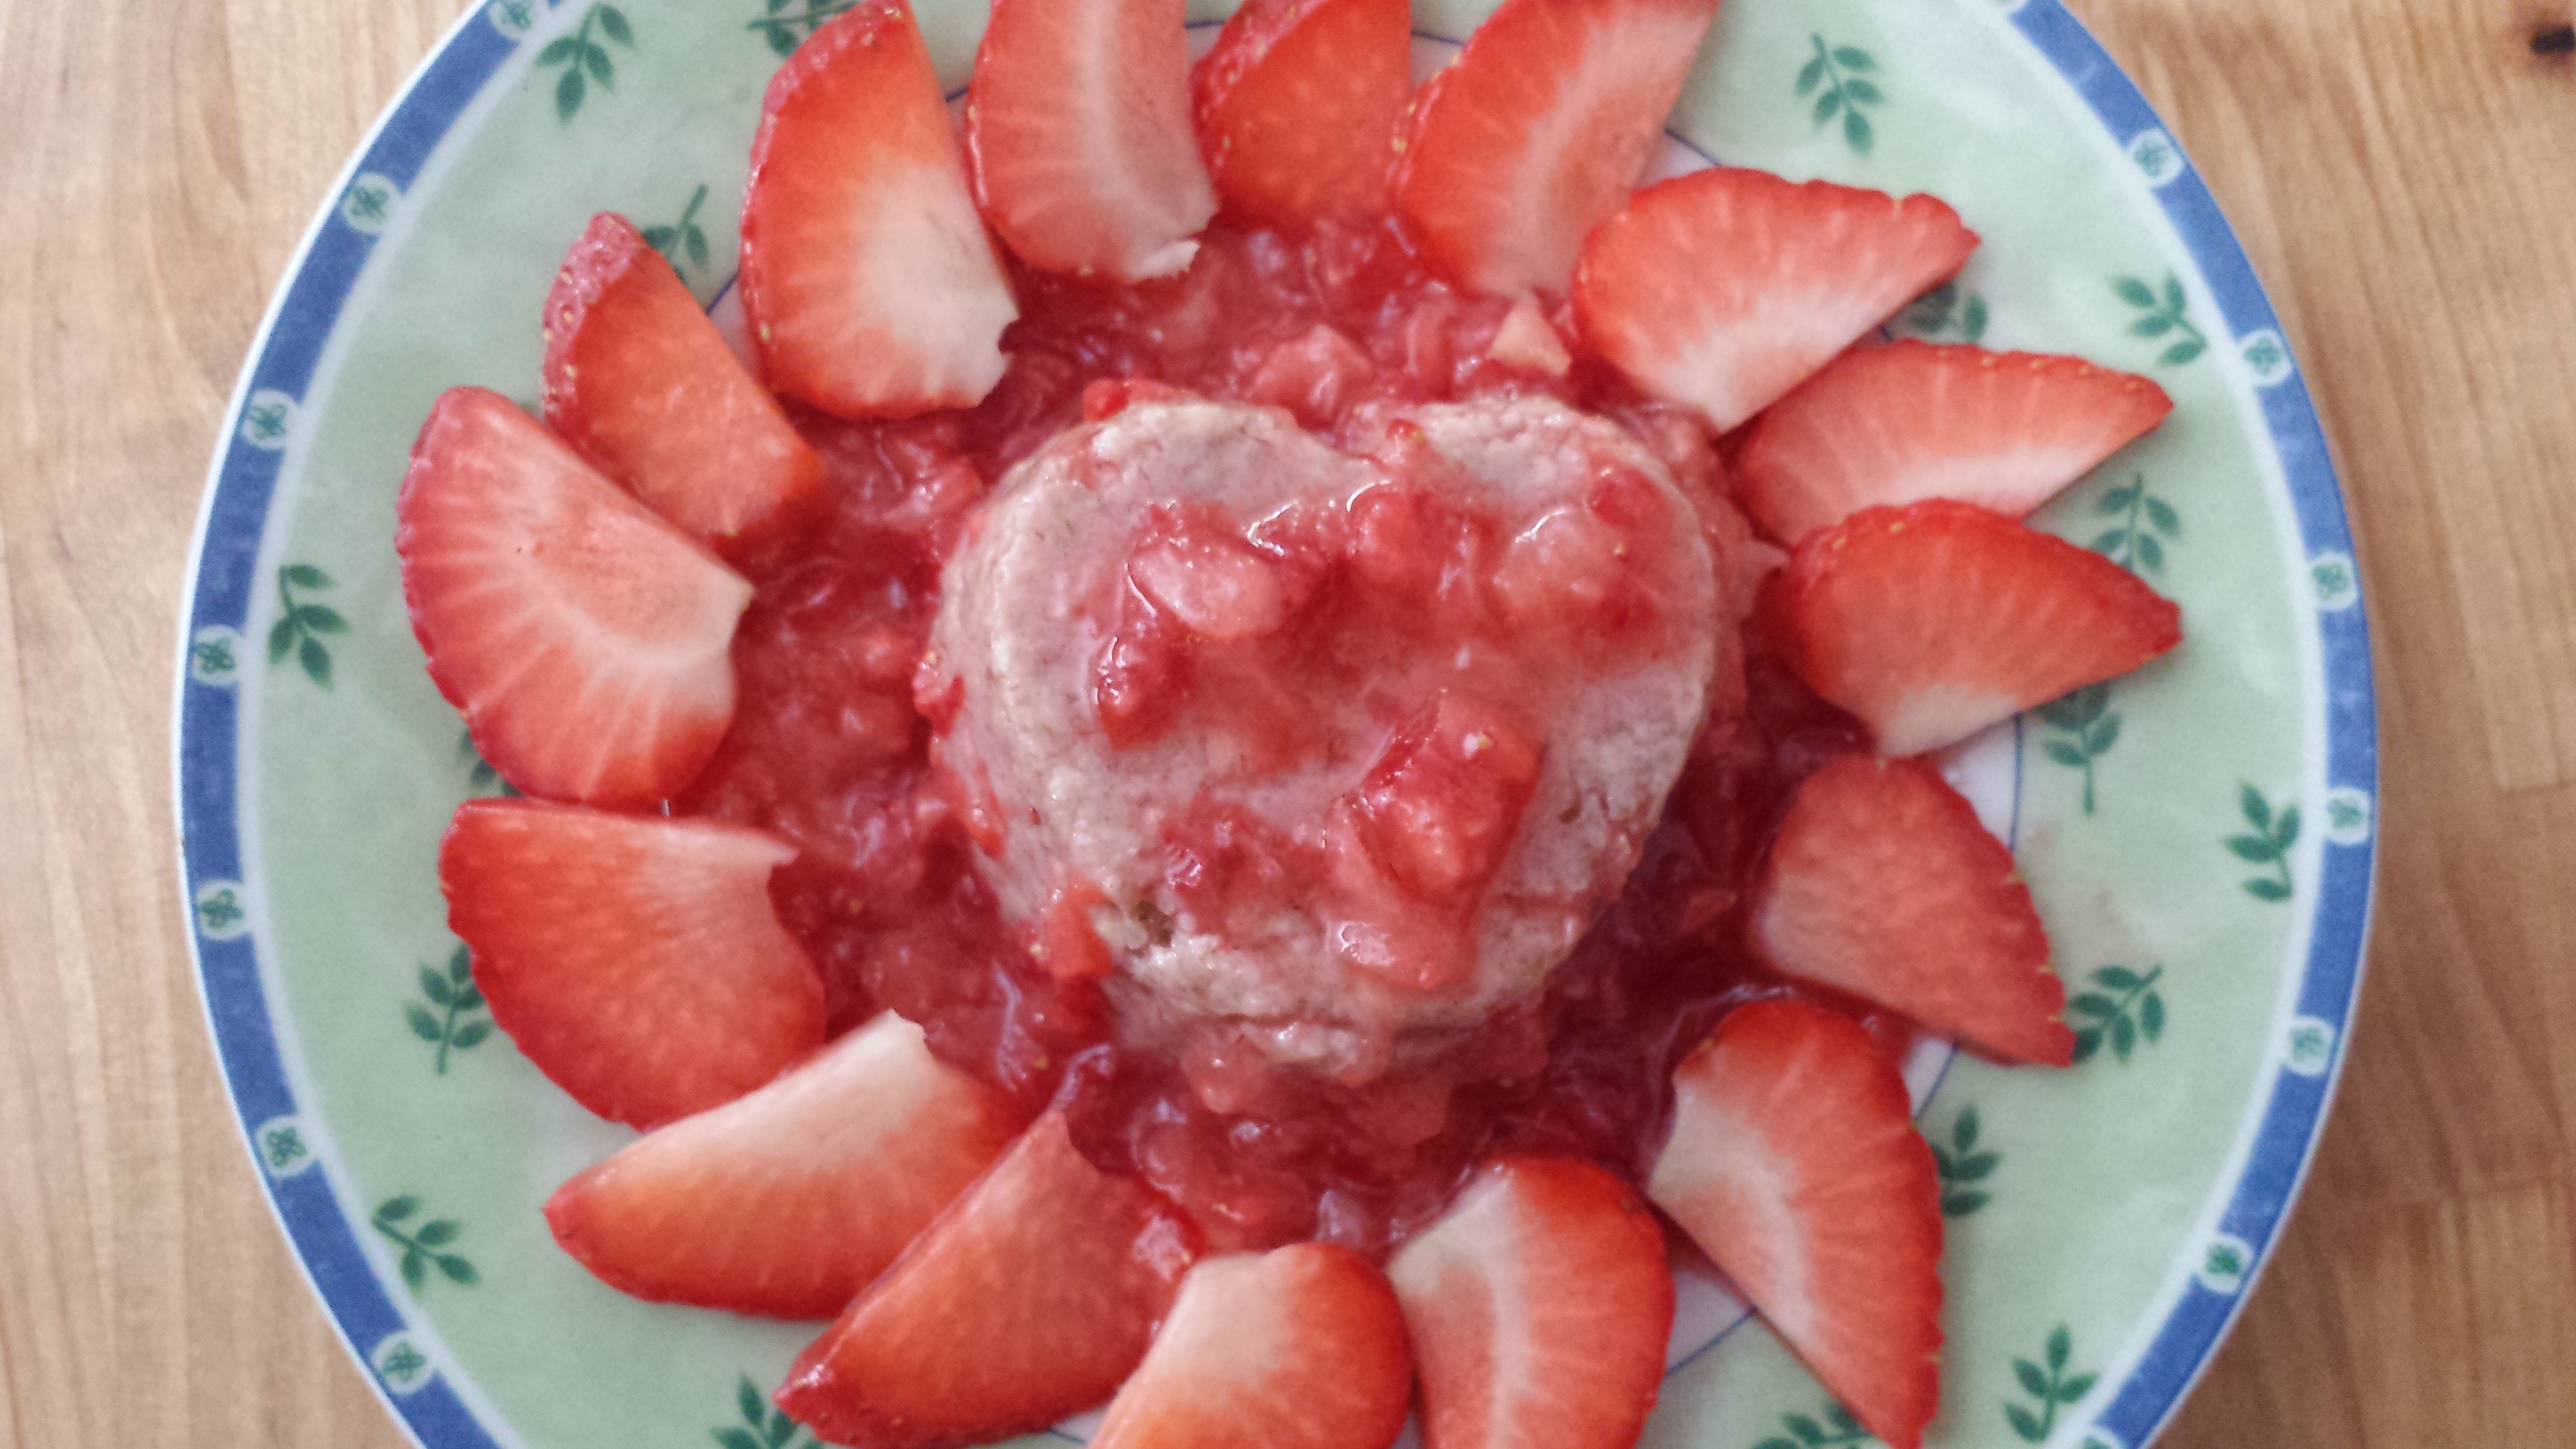
Quick & Easy Cashew Snack
I’ve been inspired lately by the many versions of “energy balls/bars” I’ve seen floating around the internet. The idea is to take nuts and add grains, dried fruits, sweetening syrups, spices and quite a variety of other preferred flavorings. My only problem is, that with Celiac and my other particular food allergies, it’s difficult to find one that is both gluten free and with nuts I can eat.
Today, with the higher temps outside, I had a wild hair to experiment with a satisfying, sweet treat that didn’t require any heat, lots of time and energy and would be healthy. Determined not to use my oven, I had to dig through my cupboards to see what ingredients I had to work with.
I decided that raw cashews would be a great nut for the base and being naturally sweet would satisfy that need. Dates are also quite sweet and very sticky so these too made it to the experimenting counter. I used Medjool dates but any moist and sticky dates would work as well.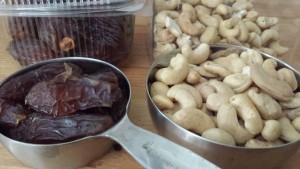
I used about 50% cashews and 50% dates. You may need to adjust the dates accordingly, depending on how large and moist they are. A good idea is to start with a small amount and add them along the way. You can see the consistency of the dough ball in the photo.
I put the cashews in the food processor and ground them into a slightly chunky “flour”. I wanted the tiny chunks for the “chew” factor so it would feel like I was eating something substantial. I halved the dates and removed the pits. I added about half of the prepared dates to the cashew flour and processed them until they were blended well. The dough started to clump together a bit and so I added the remaining dates until thoroughly mixed together. The dough rolled into a large ball and was fairly sticky creating the result I hoped for.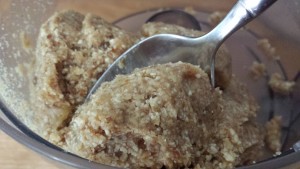
At this point the hard work was done, so now to form them. I tried 2 different ideas to see which I preferred. The first set I rolled into balls, laid them on parchment paper and put them in the fridge for at least an hour. It was pretty easy and took about 5 minutes! These are great for a quick and easy bite and possibly to carry along. They will keep in a lidded container, in the fridge for a while.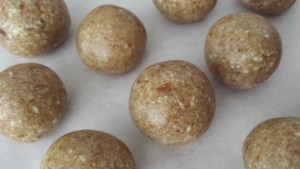
The second set I pressed into silicone forms. You can use whatever forms and shapes you have but I would recommend silicone which makes it incredibly easy to “pop” them out. This took about 10 minutes because I took the time to make them nice and keep the form shape. I put them in the freezer for about an hour to set up. You can make extra and store them in the freezer, in a lidded container, and they will keep for quite a while.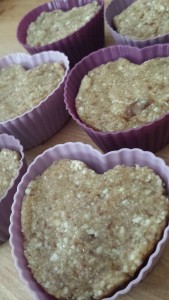
After freezing, I peeled back the edge of the form and popped them out with ease. As you can see they held the heart shape I chose. While freezing, I cut a few strawberries and smashed them with a fork and also sliced a few for decoration. I chilled the fruit until the forms were ready. I poured the smashed strawberries over the top and used the sliced ones to make it pretty. I served it while still frozen and it was refreshing and satisfying! You could use any of the wonderful summer fruits like apricots, peaches or any other berries that you have at home to top it.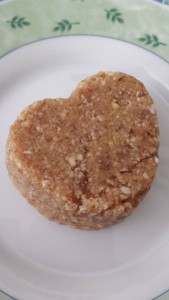
There is no added sugar or sweetening syrup. They are gluten free, grain free, lactose free, high in protein and basically a wonderful allergy free snack. These were amazingly simple and equally delicious and my kitchen remained cool! They even met with the approval of my daughter and husband. The rest will be for dessert on this fine, hot and sunny summer Luxembourgish day. Bon appétit my friends!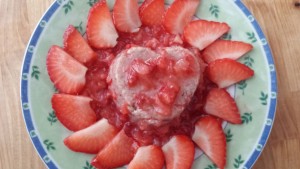


recent comments